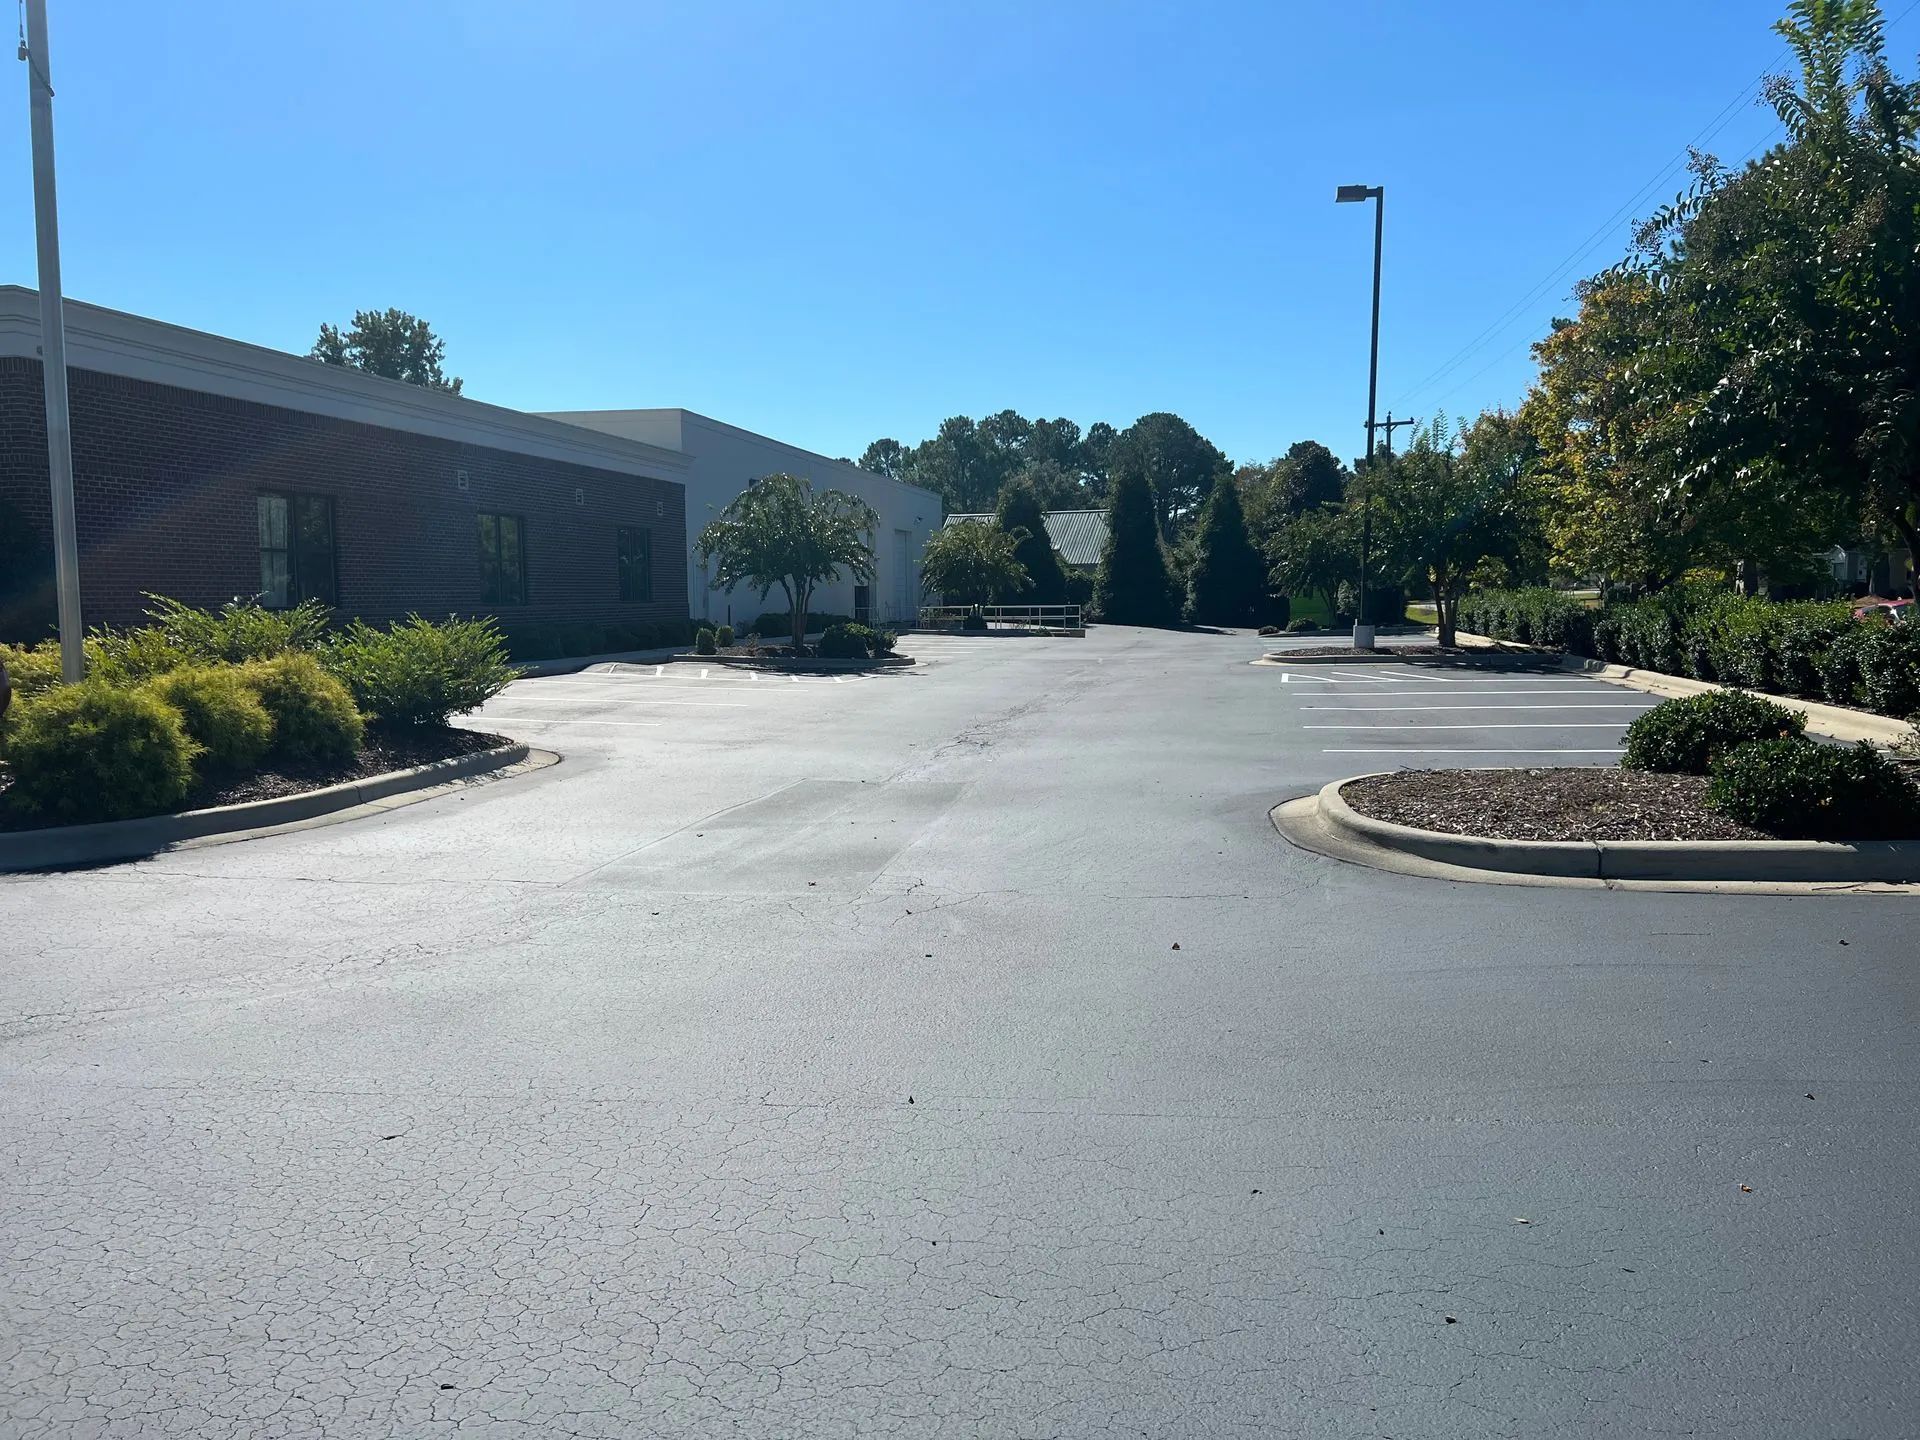
A Step-by-Step Overview of Asphalt Base Installation and Grading
When it comes to building a long-lasting asphalt surface—be it for a driveway, parking lot, or roadway—the secret lies beneath the surface. Asphalt base installation and grading are critical steps that determine the strength, durability, and lifespan of the finished pavement. Without a properly prepared base, even the best asphalt will deteriorate quickly under traffic and weather stress. A strong foundation ensures the surface remains smooth, resists cracking, and withstands heavy loads. Poor grading can lead to water pooling, erosion, and premature failure. That’s why it’s crucial to understand how this process works. In this blog, we’ll break down the step-by-step process of asphalt base installation and grading, helping you understand what it takes to build a high-performing surface that stands the test of time.
Step 1: Site Evaluation and Planning
Before any ground is broken, the site is carefully assessed. This includes measuring elevation, checking soil conditions, and identifying drainage paths. A solid plan ensures proper water runoff and load distribution, minimizing future issues like cracks or pooling. Surveying and marking the project area also help outline boundaries and establish grading slopes.
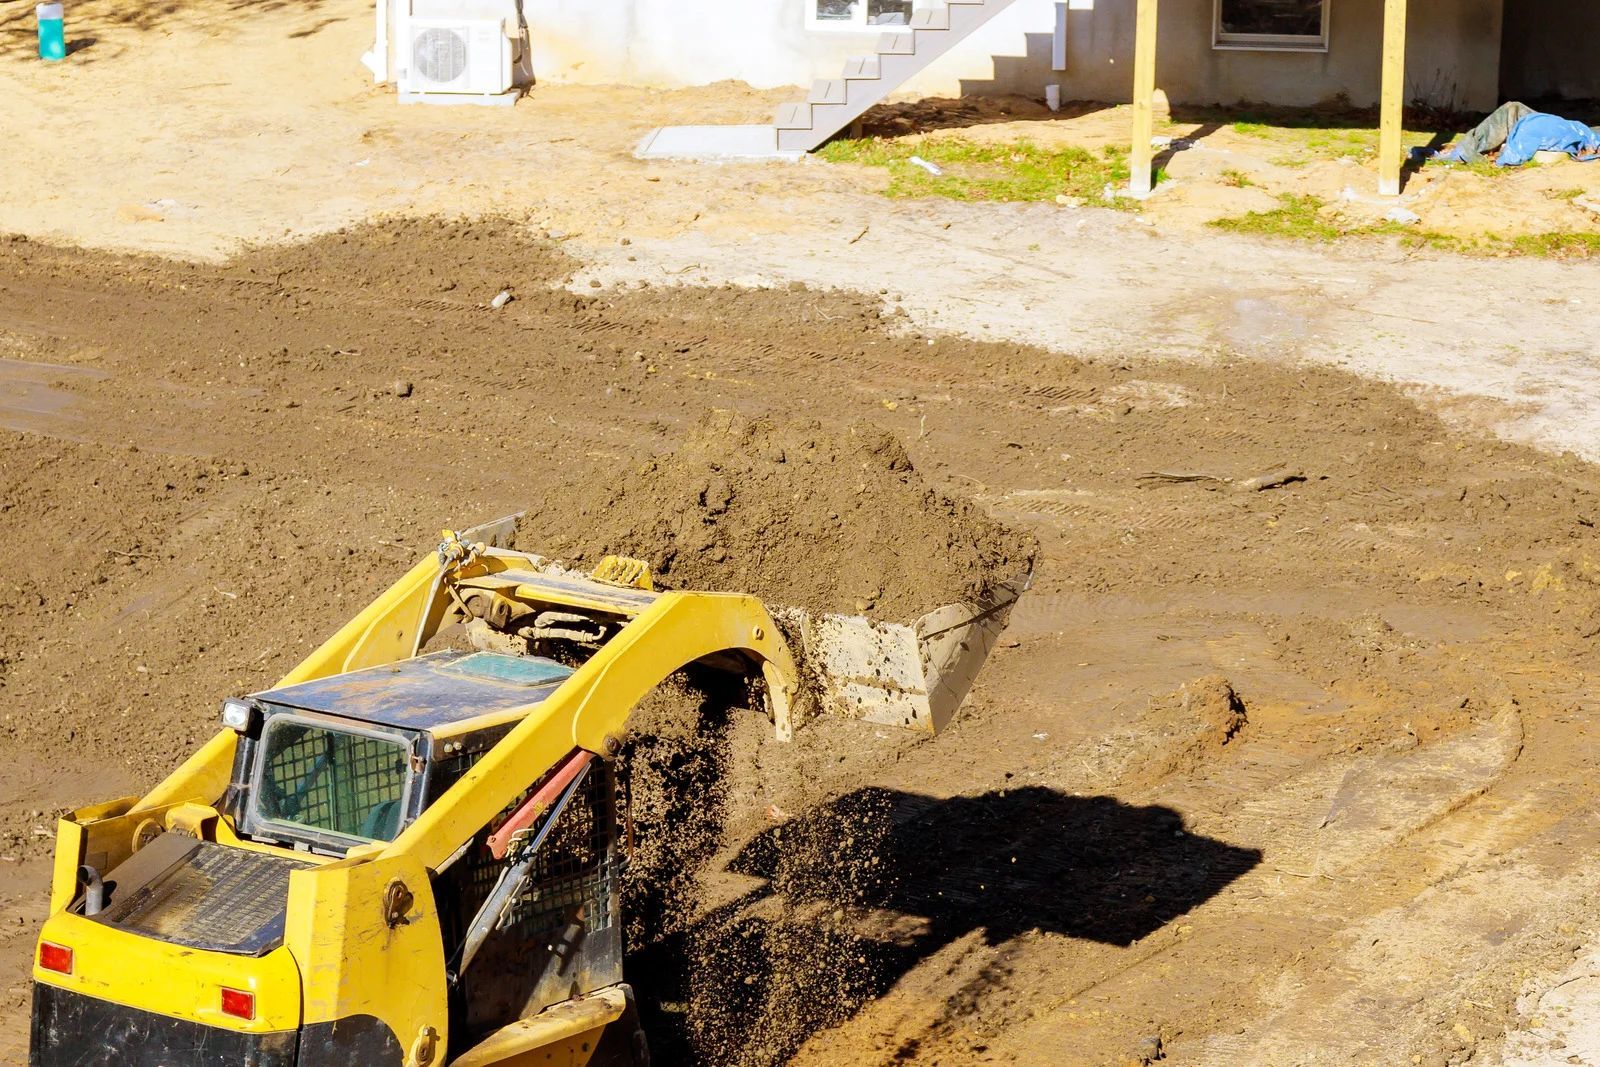
Step 2: Excavation and Clearing
The next phase involves removing all vegetation, debris, rocks, and old pavement from the site. Excavation is done to the required depth, typically 8 to 12 inches, depending on the load requirements. This clears the way for a new base and ensures uniformity in the layers that follow.
Step 3: Subgrade Preparation
Once the area is excavated, the exposed soil—known as the subgrade—is compacted to create a stable foundation. In cases where the native soil is weak or moisture-prone, additional stabilization may be needed. This could involve lime, cement, or geotextile fabric to reinforce the soil and prevent shifting.
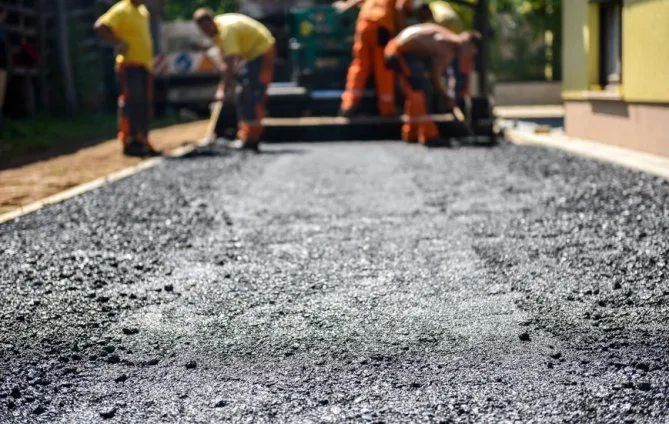
Step 4: Aggregate Base Installation
A layer of crushed stone or gravel (called the aggregate base) is applied next. This material promotes drainage and provides structural support for the asphalt. It’s usually laid in layers of 4 to 6 inches, with each layer compacted using rollers or vibratory equipment to eliminate air pockets and improve load-bearing capacity.
Step 5: Fine Grading and Sloping
Grading is a key component of a well-prepared base. Using laser-guided or GPS-equipped graders, contractors shape the surface to create the proper slope for drainage. The goal is to prevent water from pooling on the finished asphalt surface, which could lead to premature damage.
Step 6: Final Compaction and Inspection
Before paving begins, the entire base is compacted once more and checked for uniformity, firmness, and proper slope. Any soft spots or irregularities are corrected immediately. A final inspection ensures the base meets specifications and is ready to support the asphalt layer.
Trusted Asphalt Installation by Able Asphalt Paving Inc.
A professionally installed and graded asphalt base is essential for the success of any paving project. At Able Asphalt Paving Inc., we bring over 15 years of hands-on experience in delivering high-quality asphalt installations across Jacksonville, NC. Our team uses industry-leading equipment and time-tested techniques to ensure every project begins with a rock-solid foundation. From site prep to final inspection, we’re committed to precision, durability, and customer satisfaction. Partner with us for dependable paving solutions that last for years.